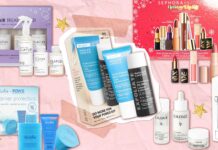
There are two elements that make or break the perfect selfie: the application of makeup and lighting. We’re going to be putting lighting and makeup to the ultimate test by putting on a full face of HD camera-ready makeup products. We’re comparing the best foundation, primer, and finishing powder from drugstore versus high-end brands. Honestly, who really knows the difference between normal makeup, and those that say camera-ready, photo ready or HD anyway?!
By the end of this, we’ll have a clearer understanding of whether it’s worth investing our cash-moneys into something more luxurious or if the basic works just as well!

What are the differences between normal makeup and HD makeup?
There are a few key differences when it comes to these photoready and HD types of makeup, in comparison to ones that aren’t labelled with these words.
Coverage
Normally when you think about HD makeup, you’re thinking about higher coverage, long wear, and cakey texture. However, it’s actually the opposite. Brands that make HD makeup products make sure that the product is sheer and natural looking.
This is because when you’re filming or taking photos with high resolution, the thicker the makeup is, the more unnatural it will look on screen. So less layers of foundation turns out to be more in this case.
Light Scattering Ingredients
HD makeup also differs from regular makeup by containing light-scattering ingredients such as mica, silica, crystals, quartz, and even crushed pearls! These ingredients contain reflective particles that make light bounce off your skin to create a radiant and glowing look. It helps create a distraction from eyes, blurring over fine lines and enlarged pores. Oftentimes, the powders are finely milled or crushed, so it fits into every crevice of your skin.
Did you also know that many camera ready or photoready foundations or powders don’t contain any SPF? This is because they are known to reflect light on camera.
Oil-Free (Mattifying)
Many camera-ready or photoready products contain mattifying ingredients that help absorb excess oil to prevent the skin from shining under the light. Any traces of excess oil or sweat are highlighted in pictures.
Which is why to further illustrate this point, we’ll be showing you the same look under three different types of lighting: outdoor natural lighting, office lighting, and professional studio lighting.
Lighting
Natural light
Natural lighting is the most effective form of lighting and the cheapest. When used correctly, you can make your selfie look like something a professional photographer took.
When you go outside, avoid facing directly underneath the sun because it will cast shadows that are unflattering for the face. Instead, take photos under the shade, during cloudy or overcast weather, or places that offer diffused and gentle light – like a window! This helps to give a smooth, airbrushed appearance to your skin, while giving a natural and healthy glow.
Office light
Since offices use fluorescent, LED, or tungsten lighting, the appearance of the skin may appear very flat, and all the uneven textures of the skin are exposed. Standing directly below office lighting often gives a bluish or green colored tinge to the skin, as well as shadows on places you don’t want on your face. Overall, it’s not a cute place to take pictures.
Studio Lighting
Since studio lightings are often set up by professionals, chances are that you will look the greatest you’ve ever seen yourself! With studio lighting, high quality cameras and lights are used to help create your best look, and the light is set in a way to hug your face in all the right ways. Soft boxes and diffusers that are used to accommodate different lights help to blur over pores and create a flawless and brighter look to the skin. Overall, it’s a great place to take a selfie.
Products and Makeup Tips
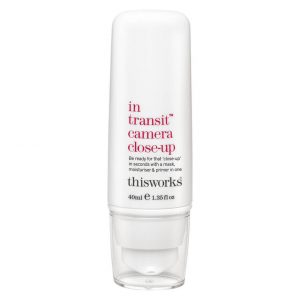
Best Primer
Tip
All great makeup routines start with a primer because it helps to create an even canvas on the skin. When applying primer, massage the product onto your face. Focus on adding more to areas where the pores are most visible, particularly the cheeks, to help the skin give off a blurring effect.
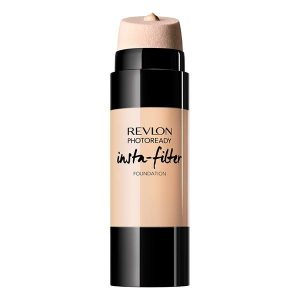
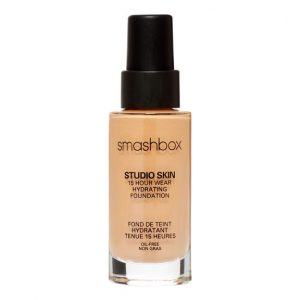
Best Foundation
Tips
- The key to flawless looking skin is to use a light amount of foundation with a beauty blender or makeup sponge as it mimics the texture of your skin.
- The less foundation you have on your skin, the better the pictures since you’re wearing light foundation and that won’t make your skin look flakey.
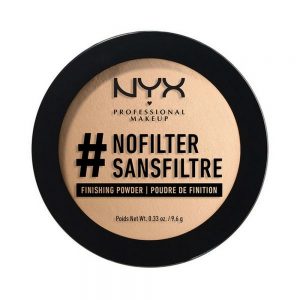
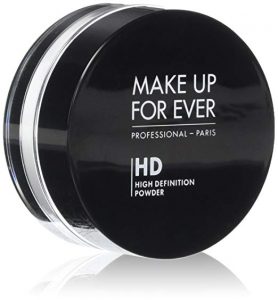
Best Finishing Powder
Tips
- Finishing powders help smooth out the skin and mattify the work you’ve done so far.
- Powders also drastically minimize the appearance of pores.
- Use a makeup brush and buff in circles onto the skin, focusing on the cheek and forehead area for a soft focus airbrushed look.
Remember that at the end of the day, it’s not just about you taking the perfect selfie. Our main takeaway is that natural lighting paired with feeling comfortable in your skin, regardless of what you have on your face makes the best picture.
For more detailed information on invest-worthy and drugstore photoready makeup, check out the full video:
Head over to more information and product recommendations:


