Need a facial but don’t want to pay the steep premium? Not enough storage space in your bathroom for skincare products? Feeling like you need a little pampering? Giving yourself a facial at home is the answer to everything.
What is Triple Masking?
Triple Masking is a simple three-step process where you consecutively exfoliate, purify, and hydrate. The result afterwards is super soft, supple, and glowing skin that’s similar to getting a facial at a spa.
First things first…
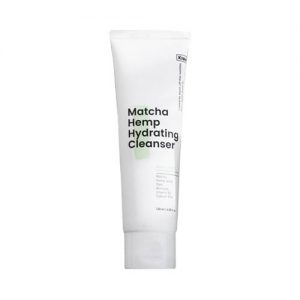
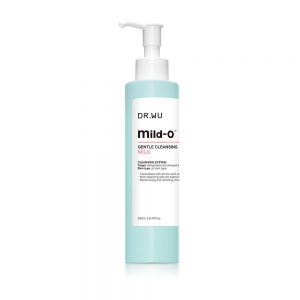
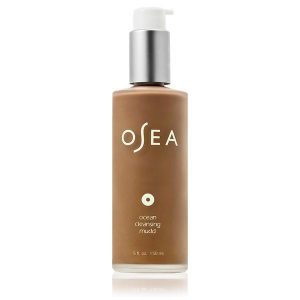
Before starting our three step masking process, we need to make sure that your face is a clean canvas. Use a gentle but effective cleanser to wash away dirt, oils, and other residue. If you have makeup on, you can double cleanse with an oil cleanser and a regular cleanser.
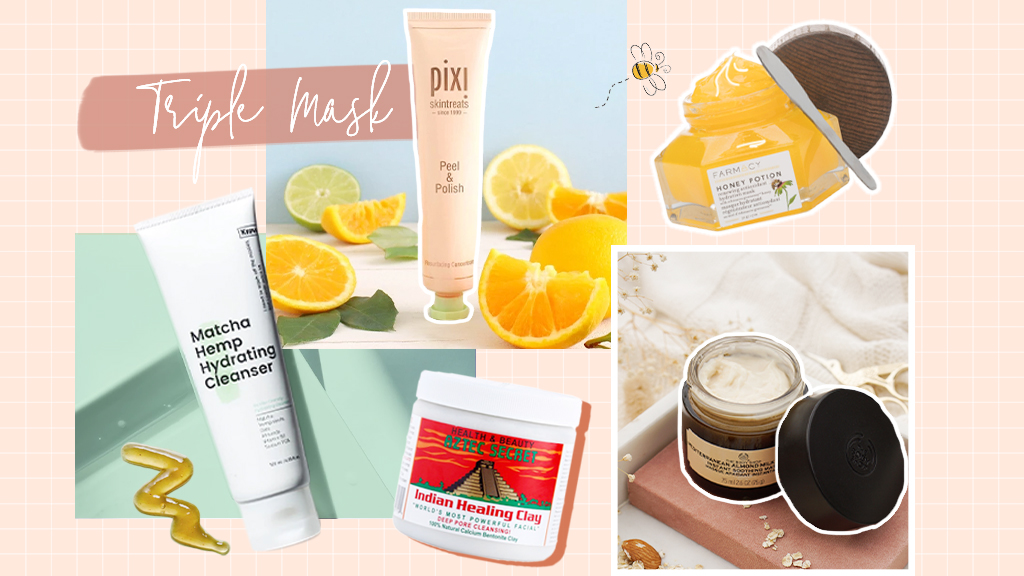
Some of our fave cleansers:
Exfoliating
The first step to achieving glowing skin is getting rid of dead skin cells by using an exfoliating mask. Exfoliating after cleansing using AHAs and BHAs helps contribute to improvement on the skin’s surface by shedding the top layer of the skin’s dead cells and encouraging new cells to emerge to the surface.
When you apply an exfoliating mask, pay careful attention of the product’s instructions. Depending on the AHAs or BHAs used, your wait time might range anywhere from 10-20 minutes. Afterwards, rinse off the mask thoroughly with lukewarm water.
Some of our fave exfoliating masks:
Purify
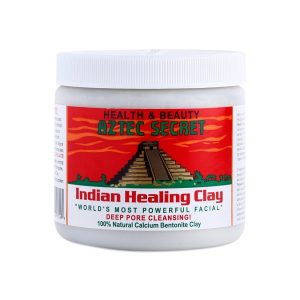
The second step to this DIY facial is using a mud or clay mask. Both mud and clay masks contain many vitamins and minerals that helps draw out excess oils, brighten the skin, and lessens the appearance of large pores. Mud is great for dry, dull, and dehydrated skin types due to its hydrating properties. Clay on the other hand, is great for oily, acne-prone, and oily-combo skin types because of their ability to absorb excess oils on the skin.
Just as with exfoliating, it’s helpful to read your product’s instructions to gauge your wait time. Generally, clay and mud masks may range anywhere from 10-15 minutes before their effects wear off. When washing off the mask, loosen up the mask by massaging in gentle circles with wet hands. Rinse thoroughly with lukewarm water.
Some of our fave mud and clay masks:
Hydrate
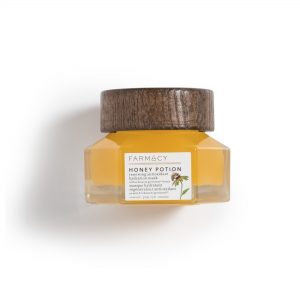
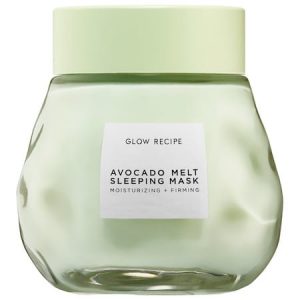
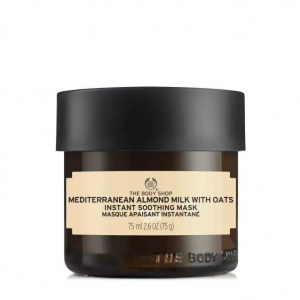
After your mud mask, the next step is to hydrate! When you hydrate as your last step, you are enabling your clean face a better opportunity to replenish back the moisture it lost. Remember that good skin is maintained when its hydrated!
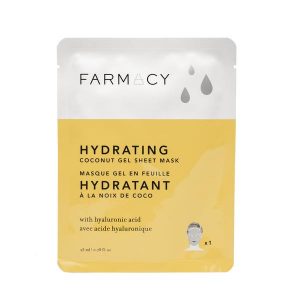
At this stage, you can use any mask or moisturizer to bring back hydration to your skin (you can go the extra mile with a DIY Matcha mask). Alternatively, a quick budget option is to use a sheet mask. Sheet masks are cotton sheets soaked with essences or serums. By pressing the sheet masks to the skin, they are creating an outer “barrier” that enables ingredients from the serum to soak into your skin and replenish moisture without evaporating away.
A good tip is to pat the excess serum or essence onto other areas of the skin, including your neck and décolletage (your neck and chest area). Don’t let the serum go to waste!
Some of our fave hydrating masks and sheet masks:
At this stage, your skin should feel soft and supple! Now that your face is prepped, you may bask in the glow and get right to relaxing. Or you can use this as a base for an easy and flawless makeup application. You’re now ready to take on the world!
For more detailed information on triple masking, check out the full video:
Head over to more information and product recommendations:

