While NY is at PAUSE, I’ve been making my food and drinks a lot more at home, and one day looking at my kitchen cabinet, I started wondering what else I could make with what I have.
Staring at my huge bag of dried rosehips, I wondered if I could make facial oil. I mean, I have always been a huge fan of natural skincare!
In case you don’t know why rosehip is good for our skin, or basically why I chose to make it. It has high concentrations of vitamin A, C, E, many fatty acids, antioxidants, linoleic acid, and anthocyanin, like what’s not there? Which helps your skin with elasticity, regenerating and healing damaged skin, brightening, and even skin tones. It can reduce scars, calm inflammation and soothe irritation while intensely hydrating.
I researched a bunch of recipes online and picked the easiest one. It came out amazing! I have bought many rosehip oil products from various brands, but they never smelled this fresh.
After sharing my making process on social media many people wanted to know how I made it so here it is!
Plus, you get 16 ounces of rosehip oil for $35 or less, that’s just a little over $2 per ounce! One ounce of rosehip oil can go upwards of $50 on the market. Of course, they add different, perhaps more sophisticated ingredients, so not saying homemade replaces that. But for all my friends out there who just want plain, simple rosehip oil, DIY is the way to go!
YOU ONLY NEED 3 INGREDIENTS:
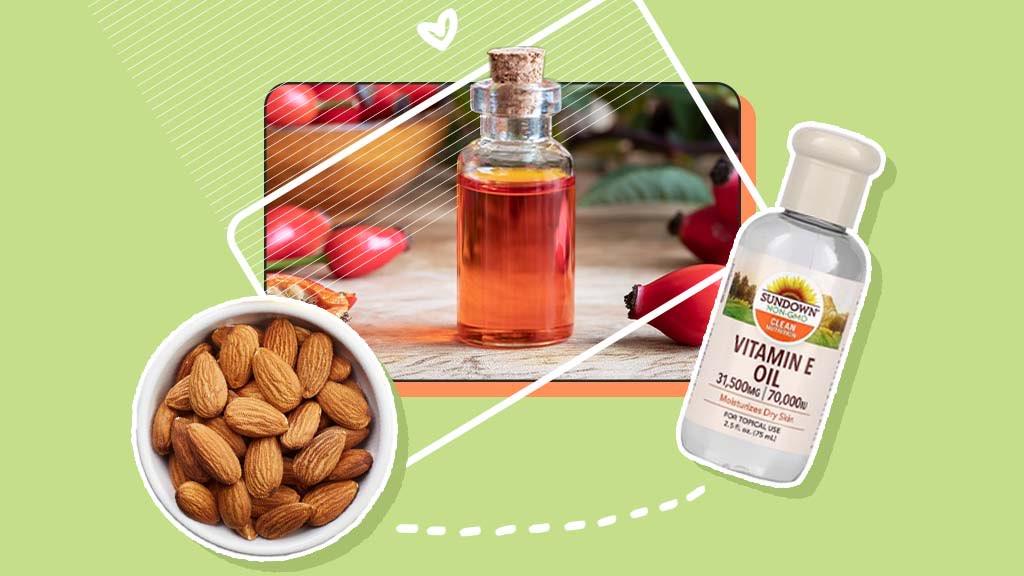
- 1 cup of rosehips (dried or fresh, I only had dried)
- 2 cups of almond oil (you can use any organic oil such as jojoba oil)
- 15 drops of vitamin E oil (essential for me since I have dry skin)
STEPS:
- I washed my dried rosehips then crushed them using a mortar and pestle
- Put it in an instant pot along with the almond oil and cooked it on low heat for 8 hours
- Use a cheese cloth to strain out the oil from the solids
- Add Vitamin E Oil, others suggested 5 drops but I added 15 (maybe that’s why I should make my own skincare recipe lol since I know what my skin needs)
- And voila, I poured everything in a glass bottle and stored it in my bathroom cabinet. Though it’s best to store it in a dark jar and place it in the fridge – you can keep it like that for 6 months.

USE:
I use it twice a day in the morning and at night before bed after cleansing my skin. I always massage it into my skin; not only is it calming and relaxing, but it also helps the oil absorb into your skin and work its magic.
It’s really helped heal my skin from the dry, cold climate and yay getting ready for spring!
TIPS:
Some makeup artists I worked with suggested to spray some water in the oil and then massage it on your face. It helps the oil soak in and feels super refreshing. Or you can simply apply it on damp skin, kind of the same technique. I think oil needs that little dampness to absorb better in the skin.
Recently, I made a face mask with a few drops of rose water, 1/2 tsp of honey, and 5-7 drops of rosehip oil. It’s healing for dry skin and gives that beautiful glowy look. Just combine the three ingredients, and apply it to your face. Keep it on for 10-15 minutes.
And that is it! Stay beautiful inside and out!
Can’t wait to make more DIYs! Maybe something with flowers, like flower-pressed bedsheets, omg so excited. Let me know your tips and tricks or if you have any ideas for spring creativity.
This article was originally published on: https://iampoojamor.com/2020/05/16/how-i-made-rose-hip-oil-at-home/


This looks amazing! I tried making it last year but I tried a cold press method. I want to try this
However I don’t have an instapot. Is there another method of heating it up and if so, what temperature do you recommend?
Thank you so much!
Sierra from Alaska
Thank you for your recipes. I’ve looked for exactly this. ?